Archives for Brockys TV

   Top 10 ways to sitting up your smart TV 

Setting up a new Smart TV can be exciting, but getting it right makes all the difference for picture quality, sound, and internet connectivity. Whether you’ve bought the latest model or upgraded your home entertainment system, following a clear setup process will help you get the best experience. This guide explains step-by-step how to unpack, connect, and configure your TV for optimal performance. We’ll also touch on how to choose the best TV antenna for home to improve reception and channel quality. From mounting to connecting streaming services, you’ll have everything ready for an enjoyable viewing experience in no time

Step 1: Unbox and Inspect Your Smart TV

Carefully open the packaging and take out your Smart TV, stand, and accessories. Check for any visible damage and make sure you have the remote, power cable, and user manual. Keep the packaging in case you need to transport the TV later.

Step 2: Decide on Placement – Stand or Wall Mount

You can either place your TV on a stand or mount it on the wall. Wall mounting saves space, improves viewing angles, and enhances safety. If you’re not comfortable installing it yourself, professional TV wall mounting services can help with secure installation and cable management.

Step 3: Connect Power and Accessories

Plug the TV into a power outlet but do not turn it on yet. Connect devices such as a Blu-ray player, gaming console, or soundbar via HDMI ports. If you plan to use Foxtel or Pay TV, connect the receiver box as per the manufacturer’s instructions.

Step 4: Set Up Your TV Antenna

For free-to-air channels, you’ll need a reliable antenna. This is where choosing the best TV antenna for home becomes important. A high-quality antenna will give you better reception, more channels, and fewer signal dropouts. If you live on the Sunshine Coast, you can get expert help with digital TV antenna installation for maximum signal strength.

Step 5: Turn On and Complete Initial Setup

Switch on your TV and follow the on-screen instructions. Most Smart TVs will guide you through selecting your language, region, and connecting to Wi-Fi. If your home Wi-Fi signal is weak, upgrading your internet setup can significantly improve streaming quality.

Step 6: Connect to the Internet

Use your TV’s settings menu to connect to your Wi-Fi network. If your connection is unstable, a wired Ethernet connection can provide more reliable speeds. For better streaming, you may consider professional help with home Wi-Fi and internet solutions.

Step 7: Scan for Channels

If you’re using an antenna, go to the channel setup section and start an auto-scan. Your TV will search for available free-to-air channels. The better your antenna and positioning, the more channels you will receive.

Step 8: Sign In to Streaming Apps

Log in to your streaming services like Netflix, Disney+, or Amazon Prime. Most Smart TVs allow you to download and manage apps easily from the TV’s app store.

Step 9: Adjust Picture and Sound Settings

Go to settings and tweak the brightness, contrast, and sound modes according to your room lighting and preferences. Many TVs have pre-set modes like “Cinema” or “Sports” for quick adjustments.

Step 10: Test and Troubleshoot

Check if all devices are working correctly. If you face reception issues, you may need TV reception troubleshooting. Reliable service providers can quickly identify and fix signal problems so you can enjoy uninterrupted viewing.

 Why Professional Smart TV Setup is Worth It

While setting up a Smart TV can be done on your own, professional setup ensures your TV is installed securely, connected properly, and optimized for the best possible performance. For homes in Maroochydore and surrounding areas, Brocky’s TV provides expert services including wall mounting, antenna installation, and internet setup, making the process quick and hassle-free.

Do you understand television technology?

Technology is exciting isn’t it? but as consumers and everyday people we only see one small part of what is actually going on!

We don’t see the transmitters, we don’t see the people behind the scenes making things work. Heck we don’t even see the actual signals themselves. So how can we know what is going wrong?

Well we shouldn’t need to. All we know is either Our picture is good or our picture is not good.

Before you spend money on your antenna system, or on buying your Tv, thnk about what you want to achieve.

There are so many options and choices that you have available, and you want to ignore all this and just get what you need.

But do you want it to last as well? I’m not talking 12months, I’m talking 5 years or 10 years? You don’t want to be spending money on this stuff again right?

Do you want foreign made products put onto your home? I mean sometimes we can’t avoid it, that’s true. But did you know there is a complete range of TV antennas and Boosters, splitters, cable and fittings that are made in Adelaide Australia? We recommend and use these products, and their quality is the reason we can give an exclusive 5 year labour-inclusive warranty.

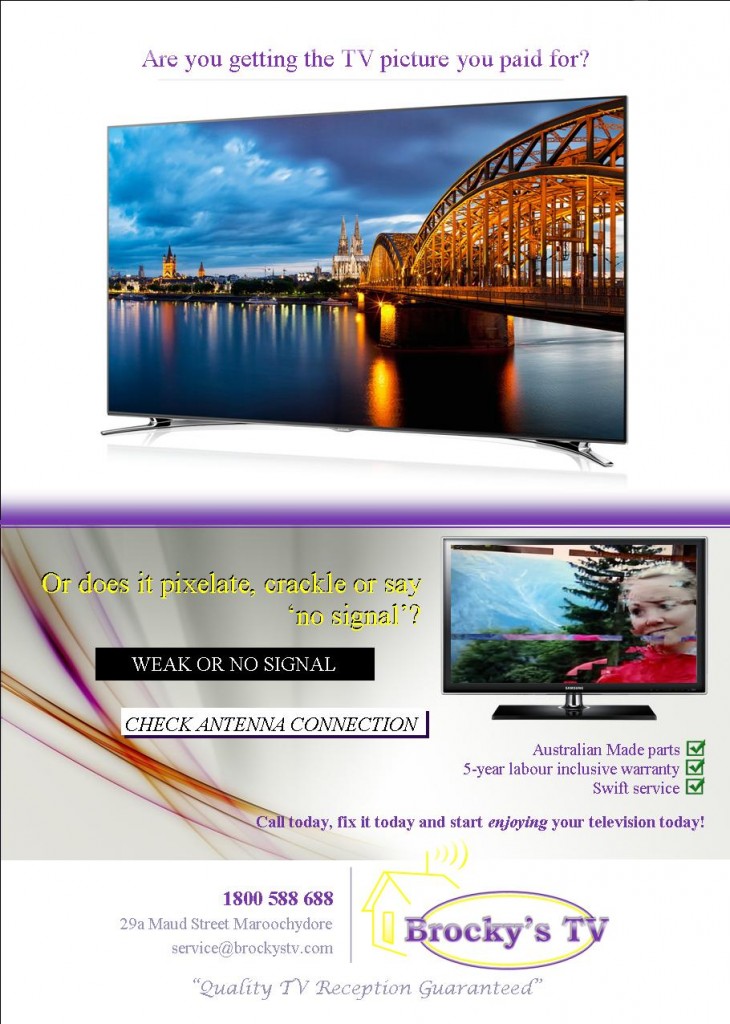
Get the right products installed, and start watching beautiful pictures on your Tv. Afterall, you didn’t spend all that money on buying a decent brand to have it break-up and pixelate through your favourite shows did you?

Brocky’s TV 1800 588 688
Break up on Digital TV

It's frustrating when you see pixelation in the middle of a show

Mount Coolum new digital tv transmitter Pt Arkwright transmitter

Do you live in Mount Coolum or the Coolum area and have always had poor TV reception?

Now there is a solution, as the new transmitter has been completed and tested. You can now have your antenna redirected towards Point Arkwright transmitter(instead of Dulong or Bald Knob previously).

It’s important to check the signal at this time, as there may be a need to remove the existing booster if your signal is too strong. Signals that are too high need to be attenuated, as over strong signals will affect digital television the same as weak signals.

The polarity is also different. Previously the antenna will have been installed in the Horizontal polarity, however the new signals being broadcast from Pt Arkwright are vertical.

North Buderim television antennas may also benefit from this new transmitter, and all local channels will be available.

This is exciting news for those residents who have been frustrated since the move to digital tv on the Sunshine Coast, and it is excellent to now have a simple solution to get this fixed.

Digital TV Sunshine Coast|Why Does Digital Television Pixelate

Digital TV often gets a bad wrap, but most of this comes from misinformation. Whereas in the past analogue Tv pictures were dependent on the signal level (the better the signal the better the picture, and the picture slowly gets worse as the signal deteriorates), Digital TV isn’t like that at all.

Digital TV on the Sunshine Coast has a cut-off level, and it’s only about a third of the way up the spectrum. What happens is TV signals fluctuate, and so if you are too close to that cut-off level, it will work sometimes, but as the weather (or more commonly the change in temperature when day changes to night around 6pm) your signal drops slightly, and this puts you on or below the cut-off level, and you experience pixelation.

Also important to note that each channel is broadcast separately and using their own equipment; the reason only some channels may pixelate and not others.

What this means to your house is that a full new antenna system and cable and booster may not be required, as you may only need a slight increase in signal to push you enough above the cut-off level that you don’t see break-up.

At Brocky’s TV we explain the why about digital tv, as well as guaranteed solutions. We give a 5-year labour inclusive warranty, so if you do need to upgrade your antenna system, you will have peace of mind that it will last.


<div><div>

Tv antenna sunshine coast television antenna sunshine coast

great television reception sunshine coast